Organize Your Life
WhateverList is a simple, flexible, and powerful app for keeping track of your lists. It can be used for shopping lists, packing lists, or wish lists - whatever lists you need in order to stay organized.
WhateverList is a simple, flexible, and powerful app for keeping track of your lists. It can be used for shopping lists, packing lists, or wish lists - whatever lists you need in order to stay organized.
WhateverList offers powerful features to help you stay organized:
| Feature | Free | Premium |
|---|---|---|
Create ListsCreate as many lists as you want, each with its own color. |
||
Show or Hide Completed ItemsChoose to display all items in your lists, or just the incomplete items. |
||
Sync data between devicesLists are synced across your iPhone, iPad, and Mac using only your Apple Account. |
||
Data ExportYour data belongs to you. Export your lists, categories, and items to a file in CSV or JSON format. |
||
Mark all items incompleteQuickly uncheck all items from a list. Great for lists of repeating tasks (packing checklists for frequent trips, weekly grocery lists, etc). |
||
Create Custom CategoriesCreate unique custom categories for each list. |
||
Reorder lists, categories, and itemsPlace lists, categories, and items in a convenient order. (The free version orders lists and items alphabetically.) |
||
Copy/Move Items Between ListsCopy or move unchecked items between lists. Great for merging lists (for example, adding your weekly grocery items to your main shopping list). |
||
Duplicate a ListEasily make a copy of a list. Great for managing a general list and modifying it for specific purposes (for example, a packing checklist that gets modified for different trips). |
||
List NotificationsSchedule one-time or repeating (daily, weekly, or monthly) per-device list notifications. |
||
Reminders Import/ExportCopy data between WhateverList and a list within Apple's Reminders app. |
||
Import from PhotosImport data from a photo or screenshot of a list. Great for importing recipe ingredients into a shopping list! |
General Questions and How-To Guides:
WhateverList is available for iPhone and iPad. The iPad app may also be run on Apple Silicon Macs.
Your data is stored on your device and synced between devices via iCloud. None of your data is synced to any third-party server, and the developer of this app cannot access any of your data.
Yes! The app is free to download, and all new subscriptions include a free trial period. Monthly subscriptions start with a free trial of one week, and annual subscriptions start with a free trial of one month. In both cases, the free trial includes all premium features.
Yes, you can export selected data (lists, categories, and items) in CSV format, which
you can open as a spreadsheet.
Alternatively, you can export data to a WhateverList file (JSON format), which can
then be re-imported into the app. Note that the import feature is only available to
Premium subscribers.
Your data belongs to you, so the app does not delete any of your lists, categories, or
items if you stop subscribing.
However, if you do stop subscribing, custom categories that you have created are
hidden within the app.
Additionally, if you had previously scheduled one or more notifications, after
unsubscribing you will be prompted to
delete these notifications.
Even if you stop subscribing, you can always export your lists, items, and
categories to a CSV file for your own use.
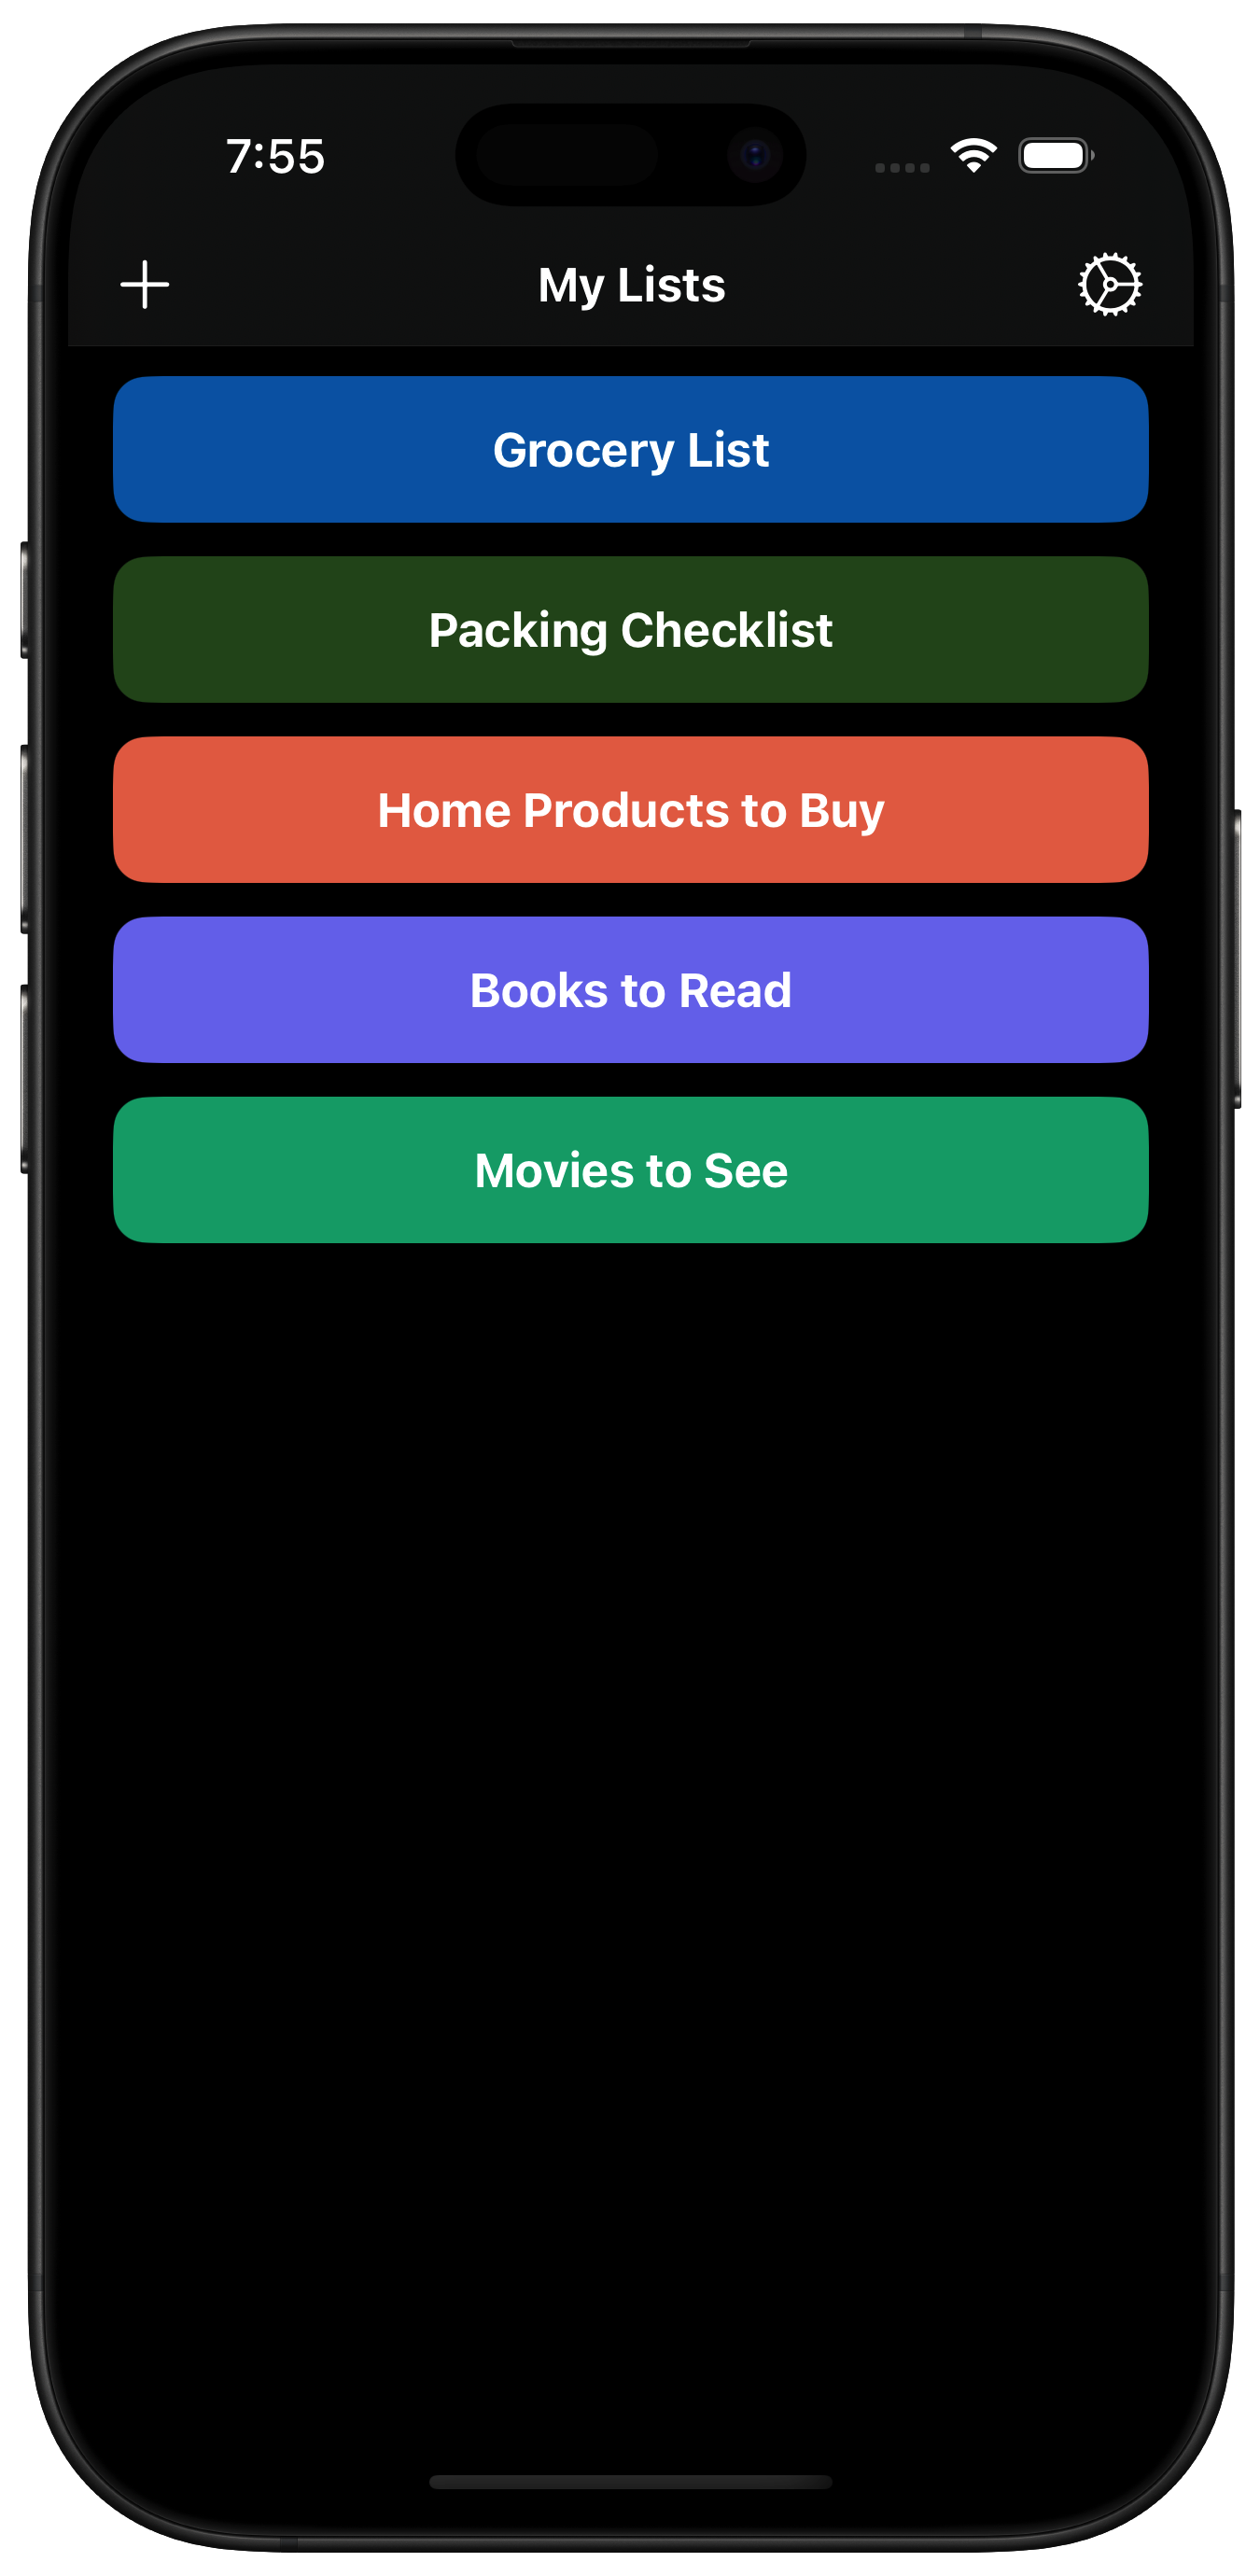
From the main screen, press the + button (iPhone) or Add New List button (iPad / Mac), which will bring up a sheet allowing you to enter a list name and select a color for the list.
From the main screen, swipe from the right side of the screen. Tapping the pencil button will allow you to edit the list name and/or color, and tapping the trash can button will delete the list entirely (after an alert is shown prompting you to confirm the action). Deleting a list also permanently deletes all of its items and categories and is irreversible, so please make sure you want to do this before proceeding.
Alternatively, you can long-press on the list name (or right-click if using a mouse on iPad / Mac) which will bring up a context menu showing the Edit / Delete options.
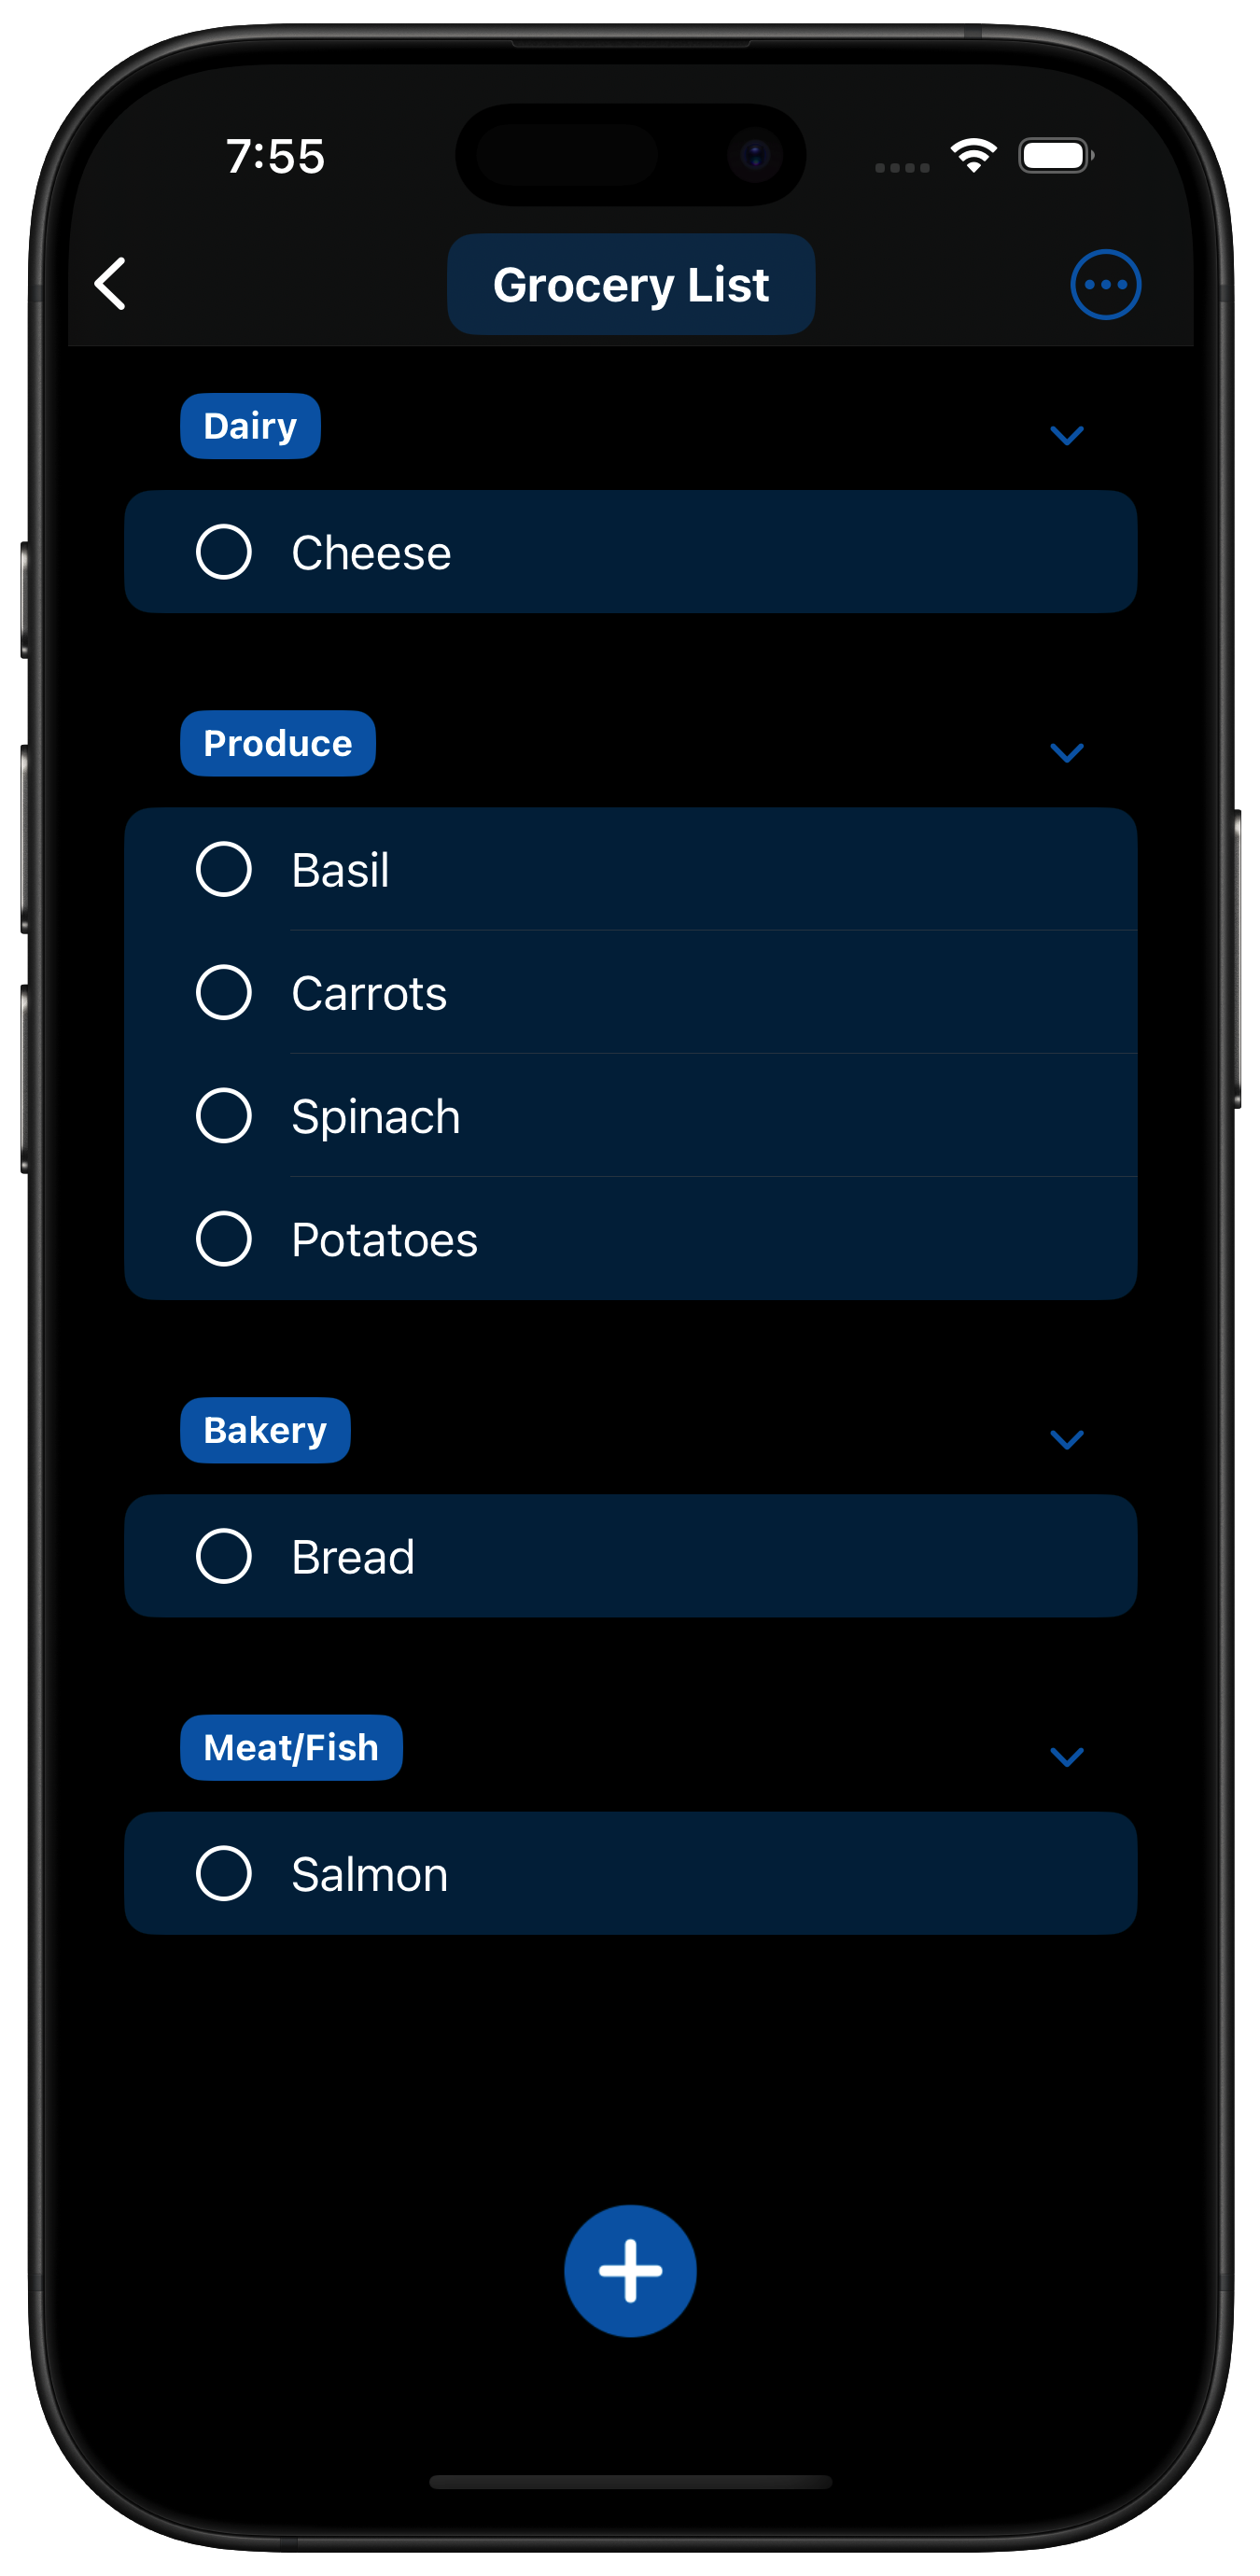
After navigating to the list you want to add items/categories to, press the big plus button near the bottom of the screen. This will bring up a sheet allowing you to add an item. If you a premium subscriber, there is also an option to add a category, or you can choose to add both at once. A premium subscriber can also add an item to an existing category using the category selector below the item name.
In either case, you can choose to save the item (which will take you back to the main page for the list) or you can press the Save Item and Add Another button, which will allow you to quickly enter another item without having to go through the whole process again.
After navigating to the list, press the More Options button (three dots within a circle) in the upper right corner of the screen, and choose Uncheck All Items (which is only available if there is at least one checked item). This will set all items in the list to unchecked.
After navigating to the list that contains the item, swipe from the right side of the screen. Tapping the pencil button will allow you to edit the item name (and category if you are a premium subscriber), and tapping the trash can button will delete the item immediately. There is also a context menu available via a long-press or right-click.
By default, items disappear from the list view once they have been marked as complete. To change this behavior across the whole app, navigate to the WhateverList settings page (gear icon), select List Display Preferences, and select Show Completed Items. When Show Completed Items is selected, each list will display all items, including the completed ones, and this setting syncs across devices.
To temporarily override this setting for a specific list, navigate to that list, press the More Options button (three dots within a circle) and select Show Completed Items (or Hide Completed Items). This will temporarily show or hide the completed items while you are viewing the list. (This selection will not be remembered when you navigate away from this list.)
After navigating to the list that contains the item, swipe from the left side of the screen - tapping the up/down arrow button will show a list of all other categories, and selecting one will recategorize the item immediately.
After navigating to the list that contains the items, press the More Options button (three dots within a circle) in the upper right corner of the screen, and choose Select Items for Editing (which is only available if there is at least one item to select). This will bring up a menu at the bottom of the screen that will allow you to delete any selected items. Premium Subscribers also have the option to recategorize the selected items. When you are finished deleting or recategorizing items, press the Done button.
On iPhone and iPad, you can also bring up the option to select items for editing via a two-finger vertical swipe gesture on the list of items.
The only actions that can be undone or redone are certain item actions: (1) adding an item, (2) deleting one or more items, (3) recategorizing one or more items, (4) editing an item, or (5) unchecking all items. When one of these actions occurs, an undo button will appear in the bottom right corner of the list view. Pressing the undo button will prompt a redo button to appear, which undoes the undo action.
Note that the undo/redo buttons will disappear when you navigate to another list, so this feature works best for very recent actions. The buttons will also disappear when changes are synced to the list from another device, since otherwise it is unclear which change will be undone.
If you are a Premium Subscriber, long-pressing on a list or item will allow you to move it up or down relative to the other lists or items. (If you are not subscribed to WhateverList Premium, lists and items are ordered alphabetically and cannot be re-ordered.) Categories for a list can be reordered by pressing the More Options button (three dots within a circle) and selecting the Manage Categories button. The Manage Categories screen allows you to reorder, add, or delete categories.
Tapping the gear button on the main screen will take you to a settings page; under List Display Preferences, premium subscribers can choose to have lists, categories, and items sorted alphabetically, which will remove the ability to reorder them. If you choose to have items sorted alphabetically, the Show Incomplete Items First option will allow you to display the incomplete items (sorted alphabetically) above the completed items (sorted alphabetically).
If you are a Premium Subscriber, you can navigate to the list containing the category, press the More Options button (three dots within a circle), and select the Manage Categories button. Swiping from the right side of the screen will bring up edit and delete buttons for the category. Note that deleting a category will also delete the items in that category (which is irreversible), so please use caution when deleting categories.
To the right of each category name in the main list view, there is a chevron symbol which allows you to show or hide the items in that category. When a category is collapsed, the number of items that are being hidden is shown next to the chevron. If you press the More Options button (three dots within a circle) in the upper right corner of the screen, an option to either Collapse all Categories or Expand all Categories will appear, allowing you to collapse or expand all categories at once.
Pressing the More Options button (three dots within a circle) and selecting Delete All Items will delete all items from the list.
From the source list (the list containing the items to be copied or move), pressing the More Options button (three dots within a circle) and selecting Copy/Move Items will bring up a sheet that will allow you to copy or move either all items or all incomplete items to an already-existing list. By default, this will preserve categories, which will create categories with the same names in the destination list; if you disable this toggle then the copied/moved items will all be assigned to the Uncategorized category.
If, instead, you want to make a copy of a whole list, then you can select Duplicate List (right below Copy/Move Items) and this will copy all items and categories from the source list to a new destination list with a name and color of your choice.
Pressing the More Options button (three dots within a circle) and selecting Reminders Import/Export will bring up a sheet that will allow you to import or export items between the currently chosen list and a specified list in the Reminders app. In each case, you can choose whether to mark items as completed in the source. (When importing items, this controls whether items are marked as complete in the Reminders app, and when exporting items, this controls whether items are marked as complete in WhateverList.) When importing items from Reminders into WhateverList, you can also choose a destination category and imported items will be assigned to this category.
Note that this action requires you to allow WhateverList to access your Reminders. This access is only used for this particular feature.
Pressing the More Options button (three dots within a circle) and selecting Import from Photos will bring up a sheet that will allow you to import items from a photo or screenshot in your Photos Library. From this sheet, choose Select Photos, choose one or more photos containing a picture of list items, and press Add in the upper right corner. This will try to detect text in the photos and present them as a list of items. After choosing a destination category you can press the Import Items button to import them into the list with the specified category.
You can delete items prior to importing them by swiping from the right and selecting the Delete button. You can also perform a few limited types of edits before importing these items: (1) long-pressing on an item and selecting Remove Symbols will remove some special characters that commonly occur when importing text from photos, and (2) long-pressing on an item and selecting Cut Text After Comma will remove text after the first comma in the item. (This last option is useful when importing text from a photo of a recipe - for example, the photo might contain the phrase "3 sweet potatoes, chopped into 2-inch pieces" and this option will convert it to "3 sweet potatoes", which is a more relevant description for grocery shopping.) At any time, once you have made one of these edits you can undo them via a long-press and selecting Undo Edits.
Within the Settings screen (accessed via the gear icon on the main screen of the app), the Export Data to File button brings you to a screen on which you can select one or more lists for export. (By default, all lists are selected, but you can quickly toggle between all and no lists via the two buttons above and to the right of the lists.) The Export Lists button will bring up a share sheet, and selecting Save to Files will prompt you to save your data in JSON format (it will be called ExportedData.whateverlist by default).
If, instead, you would like to export a CSV file containing all of your lists, categories, and items, selecting Export a CSV File will enable you to do so (again via a Save to Files option within the share sheet).
Note that both options save lists, categories, and items, but they do not include any notifications that you have scheduled.
If you have previously saved a WhateverList JSON file and are a current Premium Subscriber, you can import the data back into the app using the Import Data from File> button within the Settings screen. Pressing this button followed by Select a File for Import will prompt you to select the file to import, and you can then import all or some of the lists from the file, opting to place the new lists either above or below your existing lists.
If there are collisions between the names of these lists and the lists you already have in the app, the lists are not merged; instead, new lists are created using the suffixes (1), (2), (3), etc. For example, if you try to import a file containing a list called "Grocery List" and you already have another list called "Grocery List", the imported list will be called "Grocery List (1)". Importing lists will never interfere with the existing data you have already created within the app.
If you are a Premium Subscriber, you can schedule one-time or repeating list notifications by going to the Settings screen and selecting Manage Notifications. You will be prompted to allow WhateverList to send you notifications; WhateverList will never send any notifications besides the ones that you explicitly schedule within the app. Selecting Schedule a Notification will prompt you to select a list to be notified about, and whether to choose a one-time or repeating notification. Scheduling a one-time notification requires you to select a date and time at which to be notified, while scheduling a repeating notification requires you to select a frequency (daily, weekly, or monthly) and a corresponding date and/or time. For example, you can choose to be notified about your grocery list every Saturday at 8am, if that's when you choose to put together your grocery list.
For some lists it makes sense to periodically reset all items to incomplete, and for this purpose the Mark all items incomplete option exists. This would be useful if you have the same list that you go through periodically - for example, a weekly shopping list containing items that you always want to have on hand every time you do your grocery shopping. When this item is selected, all items are set to incomplete when you respond to the notification (not when it appears on your device).
Note that all notifications are per-device; for example, a notification scheduled on your iPhone will only appear on your iPhone, not on your iPad.
To disable iCloud syncing, go to the Settings app on your device (not within WhateverList), select your name, then tap iCloud. Under Saved to iCloud, tap See All, and scroll down to WhateverList. Turning off the toggle for WhateverList will ensure that it does not sync data via iCloud.
At the bottom of the Settings screen, there is a Delete your data option which deletes all lists, items, categories, and scheduled notifications from WhateverList. This is irreversible, so please make sure that you want to do this before proceeding.
For support questions not covered here, please email support@whateverlist.app.